Posted on

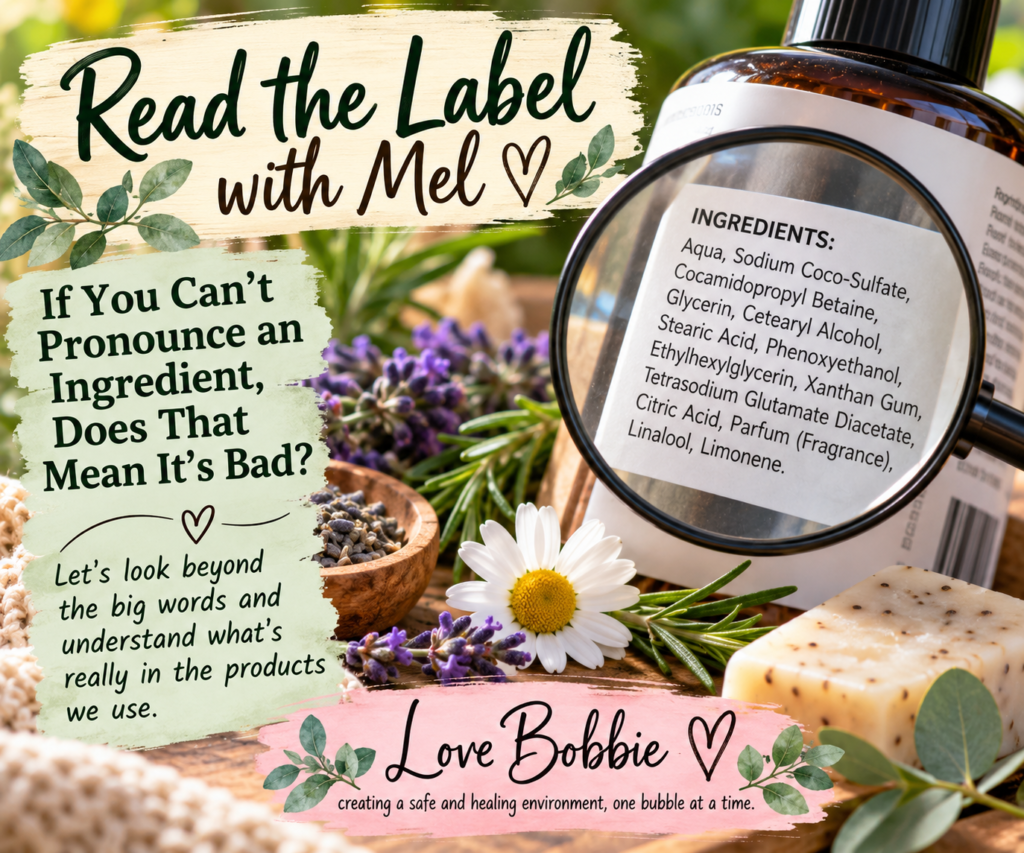
If You Can’t Pronounce an Ingredient, Does That Mean It’s Bad? | Read the Label with Mel

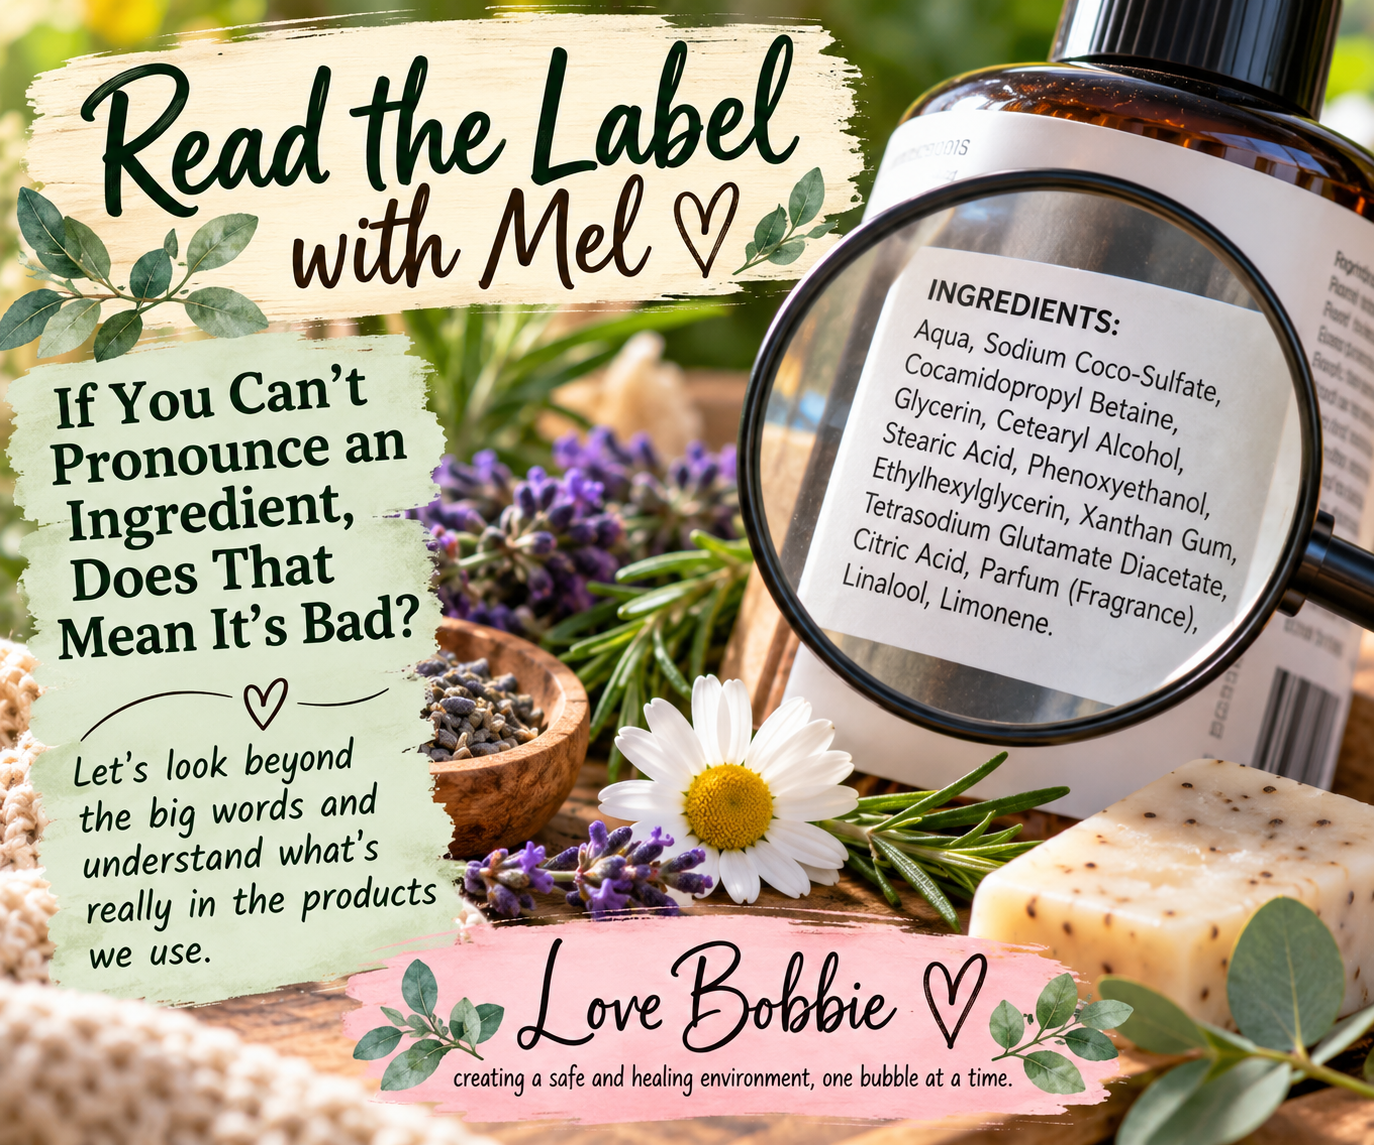
Love Bobbie Read the Label with Mel exploring whether difficult-to-pronounce ingredients are bad

Have you ever turned over a bottle, read the ingredient list and thought, “What on earth is that?”

You’re certainly not alone.

Over the years, I’ve had so many people ask me about ingredients simply because the names looked long, scientific or impossible to pronounce.

And I understand why. When we don’t recognise a word, it’s easy to assume that it must be something harsh, artificial or unsafe.

But here’s something I would really like more people to know:

A difficult-to-pronounce ingredient isn’t automatically a bad ingredient — and a familiar or natural-sounding ingredient isn’t automatically a safe one.

The name alone doesn’t tell us enough.

What matters is understanding what the ingredient actually is, why it has been included in the product, how it’s being used and what reliable evidence tells us about its safety.

That’s what Read the Label with Mel is going to be about.

I’m not here to create fear. I’m here to help people learn.

That doesn’t mean I’m going to tell you that every ingredient is wonderful, either.

I have concerns of my own about some ingredients, particularly our reliance on petrochemical-derived materials. Those concerns aren’t simply about whether an ingredient is considered safe to use in a cosmetic product. I also care about the bigger picture — where our raw materials come from, how they are extracted and manufactured, and the effects those industries can have on our environment, wildlife and plant life.

At the same time, I don’t want to label an ingredient as dangerous simply because its name sounds unfamiliar or because it was made in a laboratory.

There is a difference between asking, “Is this ingredient safe when used in this product?” and asking, “What is the environmental cost of producing and using this ingredient?”

Sometimes we need to ask both.Read the Label — Without the Fear

So What Should We Look for on an Ingredient Label?

When I read an ingredient label, I don’t simply divide the ingredients into good and bad. I start by asking questions.

What is the ingredient?

Is it derived from a plant, mineral, animal source, petroleum, or has it been manufactured or modified in a laboratory?

Why is it there?

An ingredient may be included to cleanse, moisturise, preserve the product, adjust its pH, create texture, add fragrance or perform another important function.

How is it being used?

The amount of an ingredient, the type of product it’s in and how we’re exposed to it all matter. Something used in a rinse-off product may need to be considered differently from something that remains on our skin.

What does reliable evidence tell us?

Rather than judging an ingredient because its name sounds frightening — or trusting it simply because the label says natural — I want to look at what good evidence actually tells us.

And what about the environmental impact?

Where appropriate, we’ll also look beyond the bottle: where the ingredient comes from, how it is produced, whether there are environmental concerns associated with its manufacture or sourcing, and what happens after we wash that product down the drain.

That’s how I want us to Read the Label — with curiosity, not fear.

Natural Doesn’t Always Mean Safe — and Synthetic Doesn’t Always Mean Harmful

Plants, minerals and other naturally occurring materials contain chemicals too. In fact, everything around us — including water, the air we breathe and our own bodies — is made of chemicals.

So the word chemical doesn’t mean dangerous, just as the word natural doesn’t automatically mean safe.

Nature produces some incredibly useful substances, but it also produces irritants, allergens and toxins. Essential oils are a good example of why we need to understand an ingredient rather than simply assuming that natural means it can be used in any amount or in any way.

The same principle applies to synthetic ingredients. Something being manufactured in a laboratory doesn’t automatically make it harmful. We need to look at the individual ingredient, its purpose, the amount being used and the evidence surrounding it.

For me, informed choice sits somewhere between fear and blind trust.

I want to understand what I’m using, where it came from and why it’s there — and then make my own decision.

What We’ll Discover Together

In future Read the Label with Mel articles, we’ll take ingredients that commonly appear on the products in our bathrooms, laundries and homes and look at them one at a time.

We’ll ask what the ingredient is, where it comes from, why manufacturers use it, what reliable evidence tells us about its safety and, where relevant, what environmental concerns may be associated with its sourcing, manufacture, use or disposal.

Sometimes we may discover that an ingredient with a frightening-looking name isn’t nearly as frightening as it first appeared.

Other times, we may find genuine reasons to question whether an ingredient or product fits with the choices we want to make.

And sometimes the evidence simply won’t give us a neat yes-or-no answer.

That’s okay too.

I don’t want to tell you what you should think. I want to give you information worth thinking about.

Then you can turn that bottle around, read the label and make an informed choice for yourself.

Respect the science. Embrace the art. Enjoy the surprise.

Creating a safe and healing environment, one bubble at a time.

Love Bobbie
Posted on

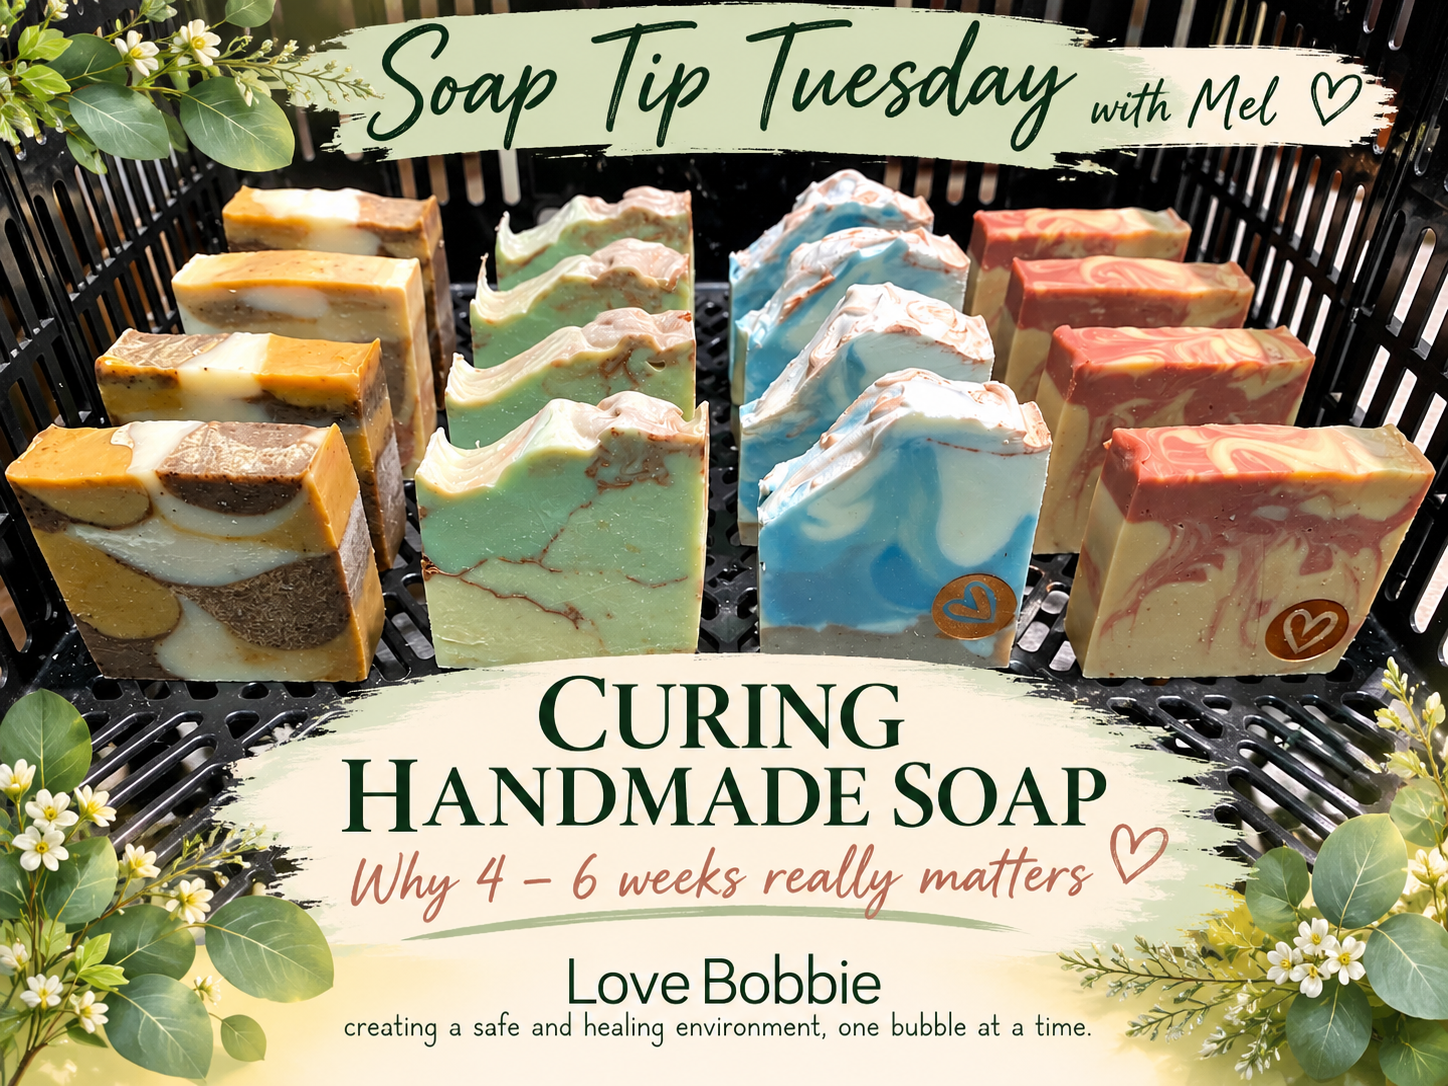
Why Does Handmade Soap Need 4–6 Weeks to Cure? | Soap Tip Tuesday

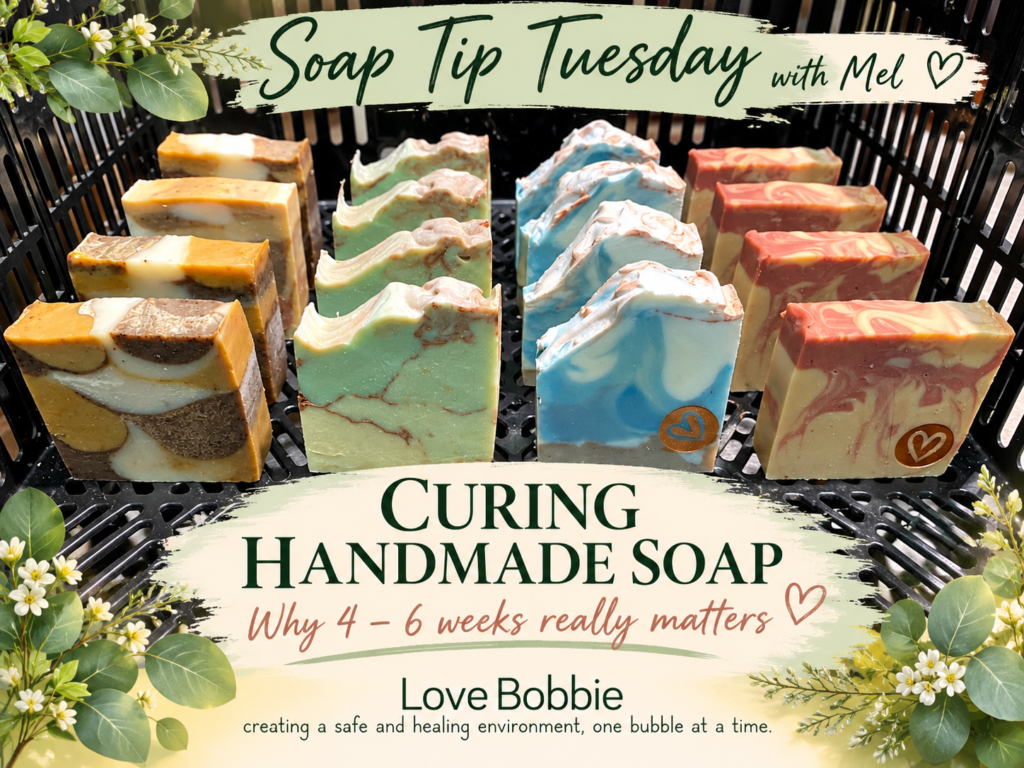
Love Bobbie handmade soap curing in a ventilated basket for 4–6 weeks

If you’re new to soap making, one of the hardest parts can be waiting. You’ve made your soap, unmoulded it, cut those beautiful first bars — and then I tell you to wait another 4–6 weeks before using them!

So why is handmade soap cure time usually 4–6 weeks?

In this Soap Tip Tuesday, I’m going to explain what is actually happening during the cure, why those weeks matter, and why cure time is about much more than simply waiting for your soap to become safe to use.

What Is Happening While Your Soap Cures?

When cold process soap is first made, the oils and sodium hydroxide begin the chemical reaction called saponification. This is the process that creates soap.

Saponification and curing are related, but they are not the same thing. Your soap does not need 4–6 weeks simply for the sodium hydroxide to “disappear”.

During the weeks that follow, excess water gradually evaporates from the bars and the internal structure of the soap continues to develop. The bar becomes harder, milder and longer lasting, and the quality of the lather can improve considerably.

That is why I teach my students to give their cold process soap a proper 4–6 week cure rather than rushing it.

But My Soap Is Already Hard — Isn’t It Ready?

Not necessarily. A bar can feel very hard only a few days after it is made, but hardness alone does not mean the soap has finished curing.

As the weeks pass, water continues to evaporate from the bar. This generally makes the soap harder and helps it last longer in the shower rather than becoming soft and disappearing quickly.

Cure time also allows changes within the soap’s crystalline structure. These changes can affect qualities such as the feel of the bar and its lather, which is one reason a well-cured soap can perform differently from the same recipe when it is very young.

So when I say 4–6 weeks, I’m not simply waiting for the bar to feel hard. I’m giving that soap the time it needs to become the best bar that particular recipe can be.

How Should I Cure My Handmade Soap?

Once your soap has been unmoulded and cut, place the bars in a cool, dry, well-ventilated area with space around them so air can circulate.

I like to stand or arrange the bars so as much surface area as possible is exposed to the air. Avoid piling freshly cut bars tightly together, and keep them away from excessive humidity, direct sunlight and areas where they may become damp.

During the cure, you can turn the bars occasionally to help expose the different surfaces to the air.

And then comes the difficult part — leave them alone! 😂

Soap making teaches us many things, and patience is definitely one of them. Those extra weeks can make a noticeable difference to the finished bar.

Can I Use My Soap Before 4 Weeks?

A cold process soap may have completed most of its saponification well before the full 4–6 week cure is finished, but that does not mean I consider it a finished bar.

A young soap still contains more water and has not had the benefit of a proper cure. It may be softer, dissolve more quickly and simply not perform as beautifully as the same soap will after several more weeks.

This is why I don’t teach my students to judge readiness by the calendar alone. Good soap making also means using an accurate recipe, weighing ingredients carefully, following the correct process and checking that nothing has gone wrong with the batch.

My rule is simple: don’t rush the cure. You have already put the time and care into making your soap — give it those final weeks to finish becoming the bar you intended to make.

Mel’s Soap Tip

If you make several batches of soap, write the date made and the earliest cure date on a little card beside each batch. It saves trying to remember which loaf was made when — especially when the curing shelves start filling up!

Most importantly, don’t be tempted to rush those beautiful bars. Soap making is both science and art, and sometimes one of the most important ingredients is simply time.

Respect the science. Embrace the art. Enjoy the surprise.

I hope you’ll join me again next Tuesday for another Soap Tip Tuesday.

Mel ❤️

Love Bobbie
Creating a safe and healing environment, one bubble at a time.

Posted on

Natural Hair Detangler | Back to Nature with Mel

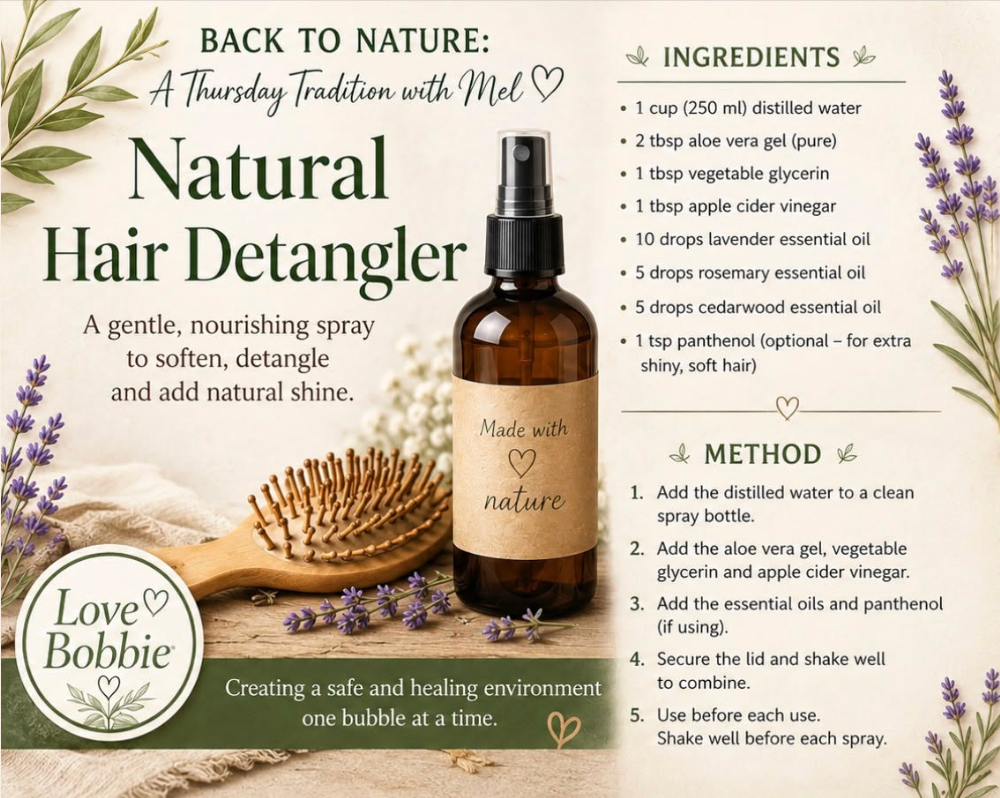
Love Bobbie natural hair detangler recipe with spray bottle, hairbrush and lavender

Welcome back to Back to Nature with Mel. This week we’re making a natural hair detangler while taking a look at simple ways to use ingredients from nature in our everyday lives.

This is something simple you can make at home without filling the bathroom cupboard with another expensive product.

One of the things I love about making things ourselves is knowing what we’ve put into them and understanding why each ingredient is there. It doesn’t have to be complicated. Sometimes the simplest recipes are the ones we come back to again and again.

Love Bobbie natural hair detangler recipe with spray bottle, hairbrush and lavender

What You’ll Need

1 cup (250 ml) distilled water
2 tbsp pure aloe vera gel
1 tbsp vegetable glycerin
1 tbsp apple cider vinegar
10 drops lavender essential oil
5 drops rosemary essential oil
5 drops cedarwood essential oil
1 tsp panthenol (optional – for extra shine and softness)

How to Make Your Natural Hair Detangler

  1. Add the distilled water to a clean spray bottle.
  2. Add the aloe vera gel, vegetable glycerin and apple cider vinegar.
  3. Add the essential oils and panthenol, if using.
  4. Secure the lid and shake well to combine.
  5. Shake well before each use.

Storage & Safety

This is a fresh, water-based homemade product and does not contain a broad-spectrum preservative. Make only a very small batch, keep refrigerated and use promptly. For longer storage, an appropriate broad-spectrum cosmetic preservative should be used according to the manufacturer’s directions. Essential oils are not a substitute for a preservative.

Shake well before use. Avoid the eyes and discontinue use if irritation occurs. If you are sensitive to essential oils, leave them out or patch test before use.

Making something ourselves doesn’t mean it has to be difficult. Sometimes it’s simply about slowing down, understanding the ingredients we’re using and finding little ways to bring nature back into our everyday lives.

Back to Nature with Mel

I hope you’ll join me again next Thursday for another simple Back to Nature idea.

Mel ❤️

Love Bobbie
Creating a safe and healing environment, one bubble at a time.